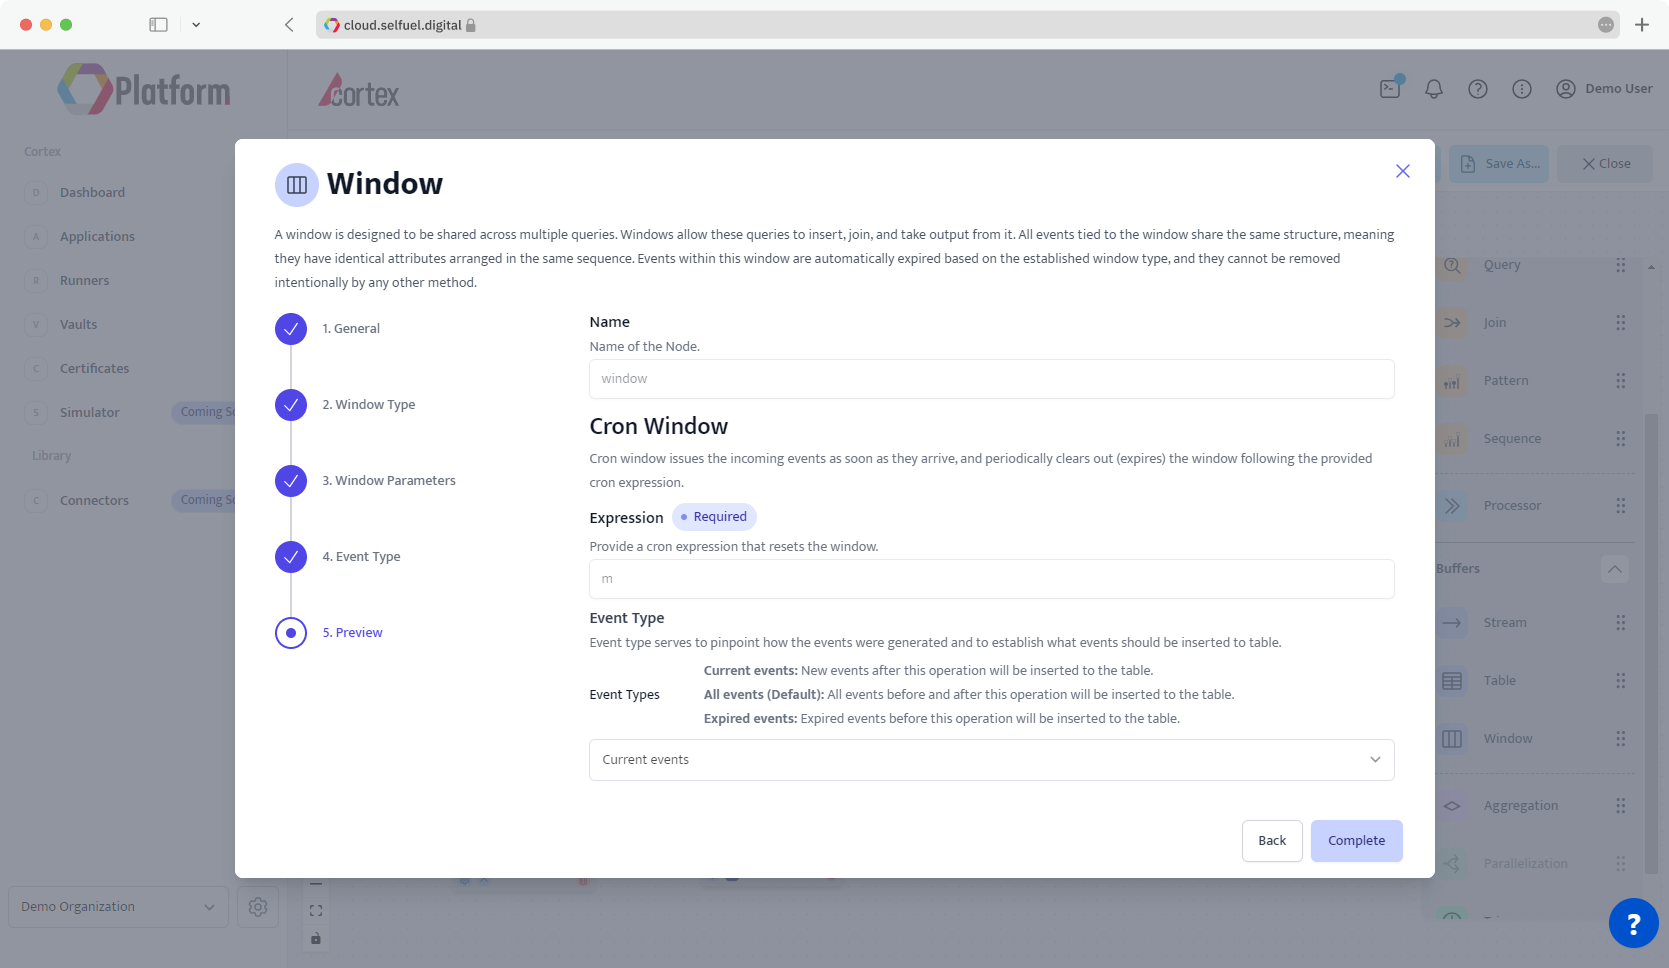
Window
Window Nodes are utilized to create windows with certian spatial and/or quantititave limits.
Every Window Node is defined by a specific schema for a window definition. (cf. Step 1 - General)
Window Node then enables the user to select a Window Type and set up its parameters. (cf. Step 2 - Window Type )
Window Nodes automatically expire events based on their Window Type and parameters, without manual deletion. (cf. Step 3 - Window Parameters )
However, you have the flexibility to choose whether to use Expired, Current, or both Events Types to relay to a succeeding node. (cf. Step 4 - Event Type)
Their purpose is to economize memory usage, facilitate aggregation across queries, and enable simultaneous querying of the same data, enhancing efficiency and data management in complex query environments.
Window Nodes are utilized in Applications to insert to Processing Nodes, join with Buffer Nodes , or consume output from Processing Nodes.
Step 1 - General
Name and Description
When configuring a Window Node in Cortex, Step 1 involves several key actions.
Assign a unique name to the Node, distinct from other Nodes in your Application.
Optionally, add a Description for detail and clarity.
The Node Name and Description will help distinguish it in the Canvas via Node Preview.
New Attributes
Defining new Attributes for the Node is a crucial part of Step 2. Here, you must not only name these Attributes but also select their respective Attribute Types.
Specify New Attributes for the Node and select their Attribute Types.
This setup is crucial for Cortex to work and you cannot complete node setup unless you have defined at least one New Attribute and defined its Attribute Type.
Step 2 - Window Type
In this Step, you will decide on the Window Type that will be implemented in the Window Node.
In the next Step, you will configure corresponding settings of the Window Type.
Step 3 - Window Parameters
Cron Window
You can use a Cron Window that XXX
Delay Window
You can use a Delay Window that XXX
Unique Event Window
You can use a Unique Event Window that XXX
First Event Window
You can use a First Event Window that XXX
Sliding Event Count Window
You can use a Sliding Event Count Window that XXX
Tumbling Event Count Window
You can use a Tumbling Event Count Window that XXX
Session Window
You can use a Session Window that XXX
Tumbling Event Sort Window
You can use a Tumbling Event Sort Window that XXX
Sliding Time Window
You can use a Sliding Time Window that XXX
Tumbling Time Window
You can use a Tumbling Time Window that XXX
Sliding Time and Event Count Window
You can use a Sliding Time and Event Count Window that XXX
Step 4 - Event Type
At Step 4; you will decide on the "freshness" of events that will be sent to the output node. Event Type choice is where you define "freshness" that is defined via Window Expiry.
"Fresh" events are called Current Events that have not expired and are within the temporal or quantitative bound that a window constitutes.
Any Window Node also accommodates some "expired" events as windows keep events based on a time/quantity condition (cf. Windows). As these expired events have already expired due to Window Expiry; they are considered "stale/not-fresh" compared to Current Events that have not expired yet.
Event Type
Event Type is crucial for identifying which type of events will be relayed to the output node when an input node should send these events.
Current Events
Only events that are actively within the input node window's defined criteria will be sent to the output node.
Expired Events
Only events that were once current but have now exceeded the window's criteria will be sent to the output node.
All Events
Both current and expired events at the window will be relayed to the output node.
The default Event Type is Current Events so only events within window node's defined criteria will be sent to the Processing Nodes.
Step 5 - Preview
In Preview Step, you're provided with a concise summary of all the changes you've made to the Window Node. This step is pivotal for reviewing and ensuring that your configurations are as intended before completing node setup.
Viewing Configurations: Preview Step presents a consolidated view of your node setup.
Saving and Exiting: Use the Complete button to save your changes and exit the node and return back to Canvas.
Revisions: Use the Back button to return to any Step of modify node setup.
The Preview Step offers a user-friendly summary to manage and finalize node settings in Cortex.
Last updated